Showing posts with label Glue Dots. Show all posts

6.27.2019

Turtle Cutout!


Somewhere along my paper crafting career, I acquired this turtle die from Cuttlebug; but I don't think I ever used it.  It went great with this set from The Project Bin named Love Your Shellfie. I used the bow stamp to make her into a girl turtle! Squeal!

The Project Bin also has matching dies for some of their images. 
In My Heart set has a heart and xoxo...and so I embossed the heart cut out to complete this card.
The large, rounded heart makes a nice backdrop for this shelled creature!

Enamel and washi tape from Eyelet Outlet.
Mini Glue Dots are perfect to adhere those googlie eyes!!

3.07.2019

Vintage Music Collage


Glue Dots Adhesives
 Designed for and published on the Glue Dots ® website!

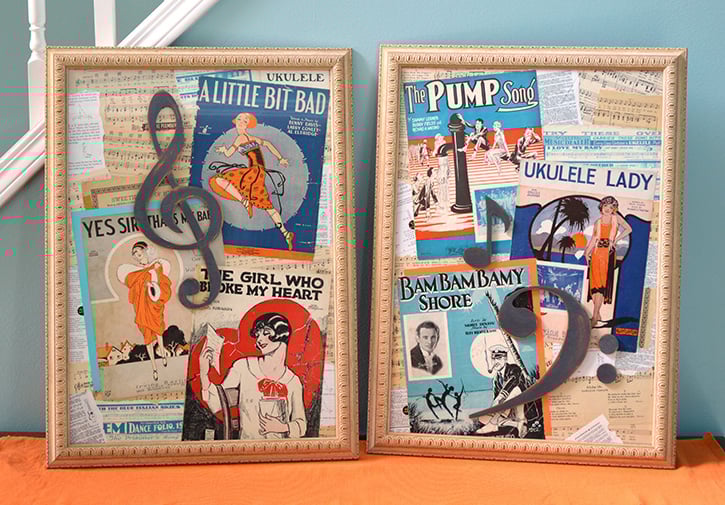
Make a musical statement on your walls! Use GlueTape to collage together papers. Craft Cut shapes added to the top of the glass will complete the song!
glue-dots-craft-cuts-musical-home-decor-finished2
Made By: Dawn Mercedes Barrett
Time: 3 hours
Level: Moderate Handiness
Size: Variable based on frames used. My frames were 21" x 28".
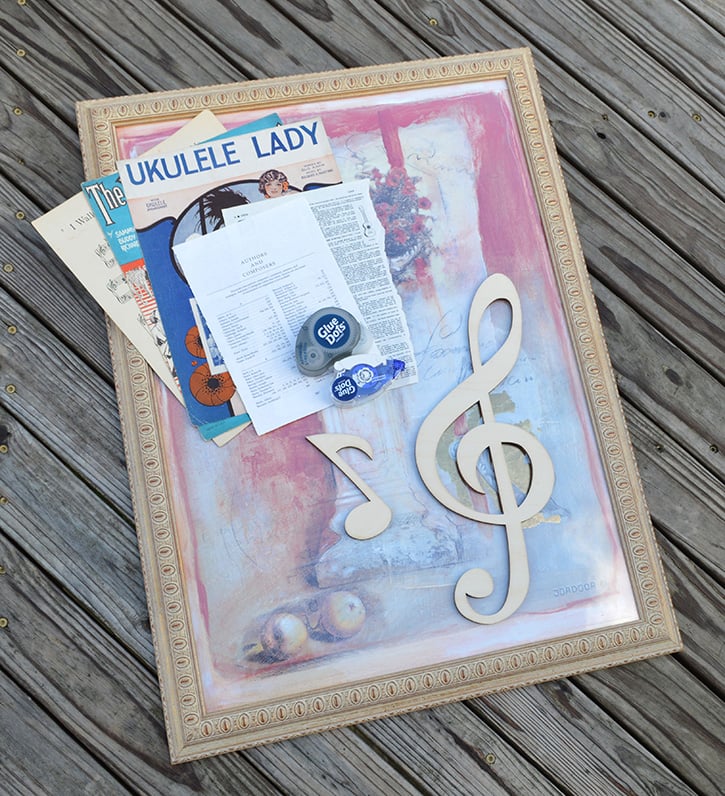
glue-dots-craft-cuts-musical-home-decor-supplies
Materials:
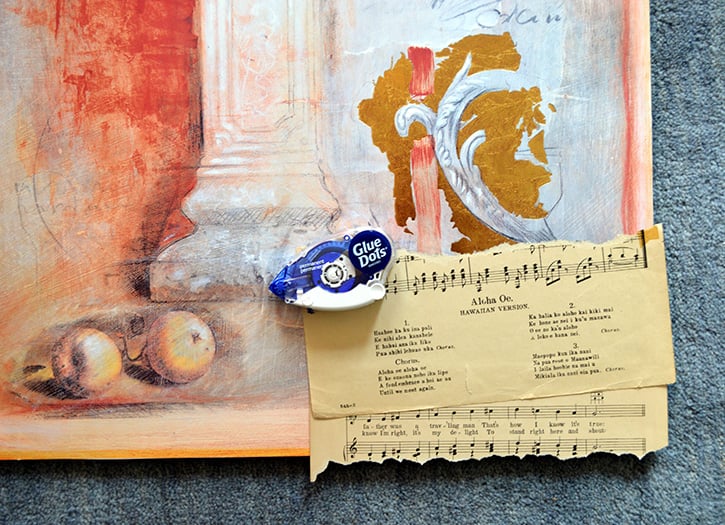
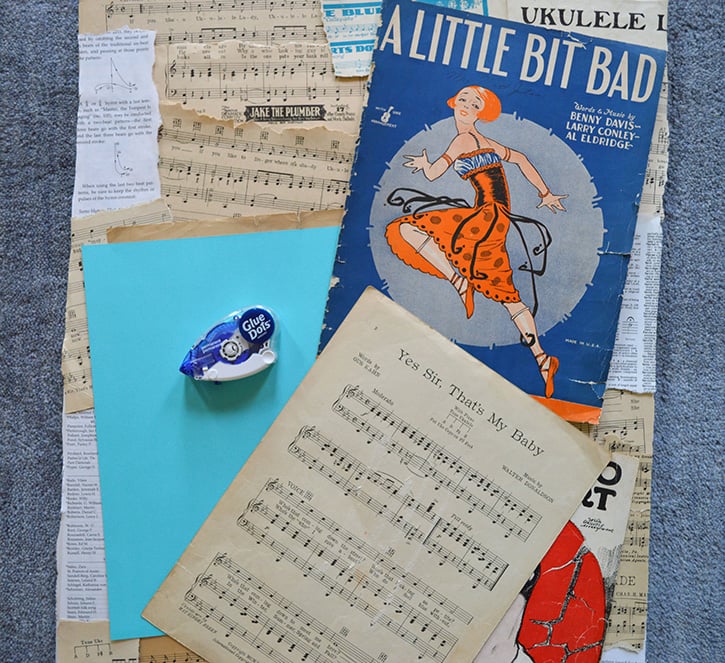
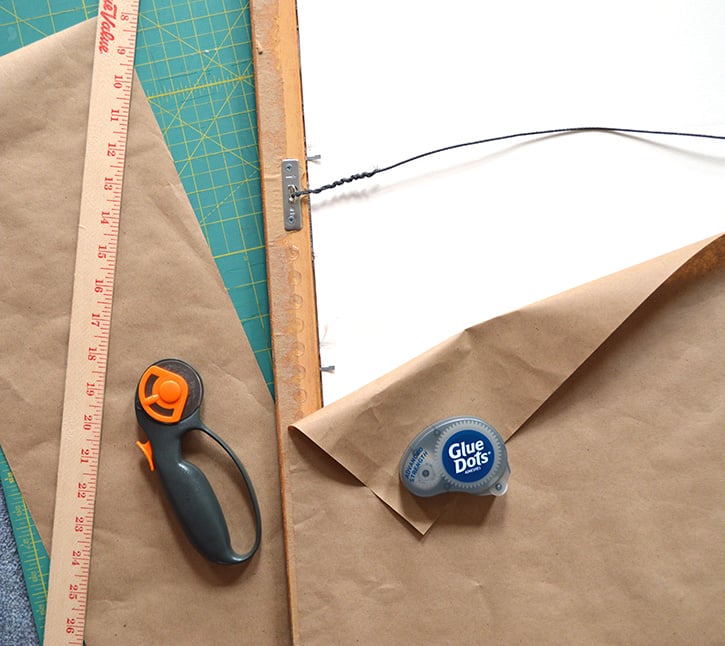
 Directions:Take out the original artwork. Cut a piece of Foam Core Board to fit the frame with the xacto knife and metal edged ruler.  Rip your collage papers into pieces and adhere them directly to the foam core using GlueTape.
Tip: When using fragile, vintage papers, apply the Glue Tape to the foam core board, not the paper. 
glue-dots-craft-cuts-musical-home-decor-attach
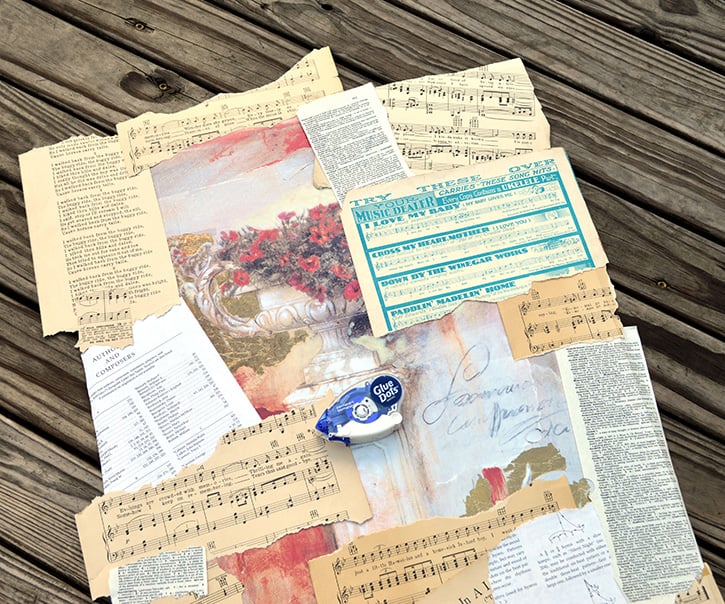
Overlap your paper pieces to create an interesting background. 
glue-dots-craft-cuts-musical-home-decor-gluetape
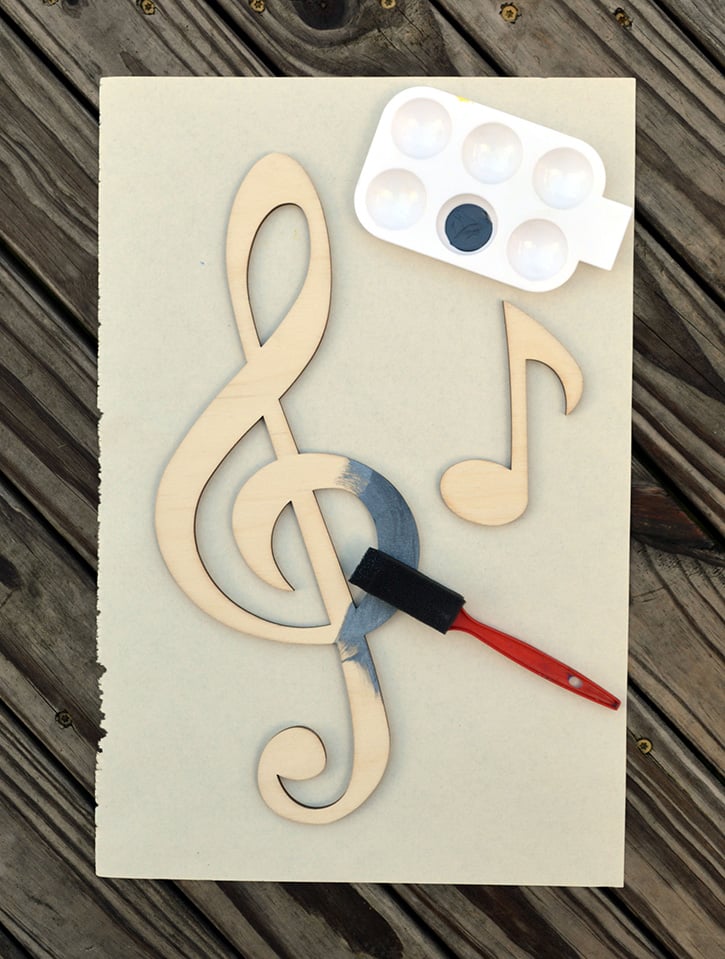
Use a foam brush to paint the Craft Cuts musical notes with acrylic paint. Let dry. Apply a second coat and allow to dry again.
glue-dots-craft-cuts-musical-home-decor-paint
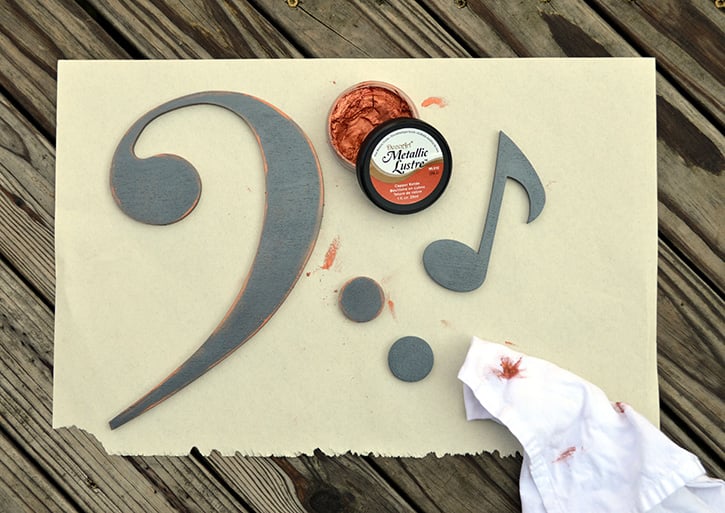
Use a soft rag to apply Metallic Lustre (I used Copper Kettle) along the edges of the wooden pieces. Burnish the pigment with the clean edges of the cloth to create a finished look. Allow to dry. Then seal with a light satin varnish. Dry once more.
glue-dots-craft-cuts-musical-home-decor-luster
After the background of your collage is complete, place the music illustrations onto the background to find the best layout. Mock it up with the wooden pieces too.
Tip: Take a pix with your photo for future reference. 
Use GlueTape and secure the illustrations along with any mats cut from colored card stock.  Add other embellishments as desired.
glue-dots-craft-cuts-musical-home-decor-layer
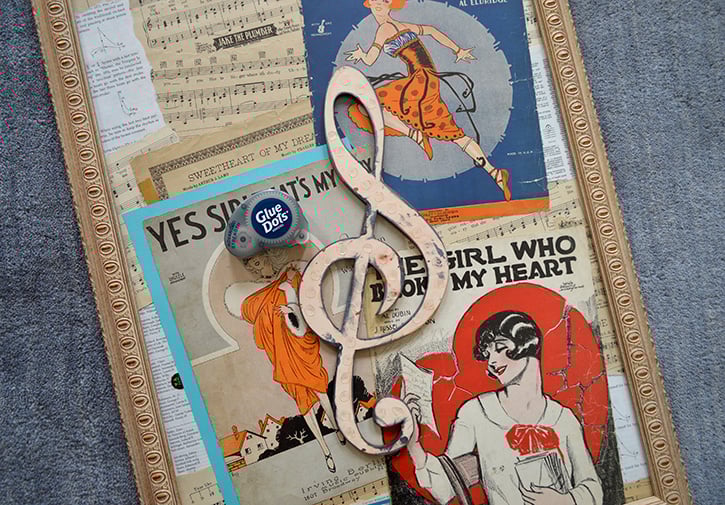
Use an Xacto knife, or sharp scissors, to cut away an collage papers that overlapped the edges of the foam core board. Be sure the glass and frame are clean free of dust.  When finished, place the art work into the frame.
Apply Advanced Strength Dots to the wooden pieces and secure them to the top of the glass frame.
glue-dots-craft-cuts-musical-home-decor-advanced-strength
Measure Kraft paper to make a dust cover for the back of the frame. Use Advanced Strength Dots to secure the paper to the back of the frame to polish off the project and to protect the back of your artwork.
glue-dots-craft-cuts-musical-home-decor-dust-cover
This is a fun project that can give new life to lovely frames that you've gotten tired of.  GlueTape keeps your hands clean and your work space neat! The fun thing about handcrafted works of art is that they can be tailored to your style, colors and hobbies!
~ Dawn

2.26.2019

Fav Earthling


Lawn Fawn stamps
Eyelet Outlet embellies
Glue Dots ® adhesive

for the SCS Color challenge today!

2.25.2019

Get Well Soon!


A Get Well Soon card for the Splitcoaststampers CAS challenge...new set from my friend, Michelle...from Sweet 'n Sassy Stamps. Washi tape from Eyelet Outlet . Adhesive from Glue Dots!


2.08.2019

A Valentine's Day Mouse


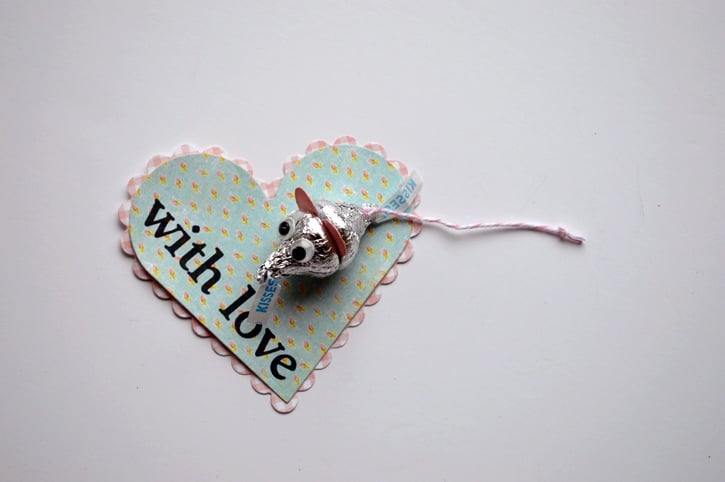
Who knew putting Glue Dots and wrapped candy together would create a cute sweet treat? Designer Dawn did and she shows you how to make a chocolate candy mouse with Glue Dots and a few embellishments.
Made by: Dawn Mercedes Barrett
Time: 15 minutes
Level: Beginner
Size: 3" x 3.5"
One way to show others we care about them is to make hand-made gifts. This sweet craft is a cute valentine for kids or adults to share with each other!
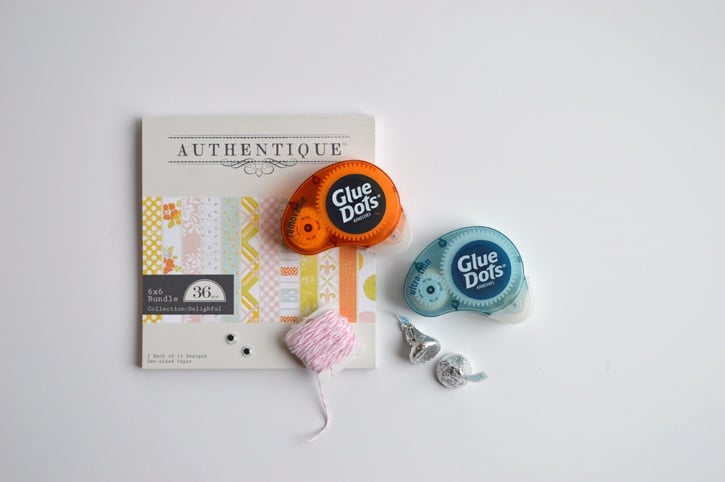
Here's what you need:
  • Ultra-Thin Glue Dots®
  • Mini Glue Dots®
  • Removable Glue Dots®
  • Patterned Paper (Authentique: Delightful Collection)
  • Valentine Sentiment Stamp
  • Memento Black Ink
  • 2 small googlie eyes
  • 2 Hershey Kisses®
  • 3" pink/white baker's twine
  • Spellbinders Nestabilities Hearts and Scalloped Hearts
  • Sizzix BigShot
  • 1/2 circle punch
  • Scissors
  • Ruler
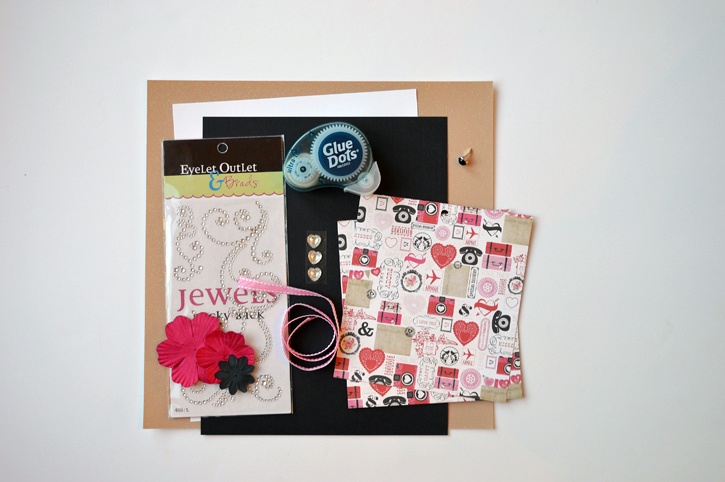
valentines-day-mouse-supplies.jpg
Here's what you do:
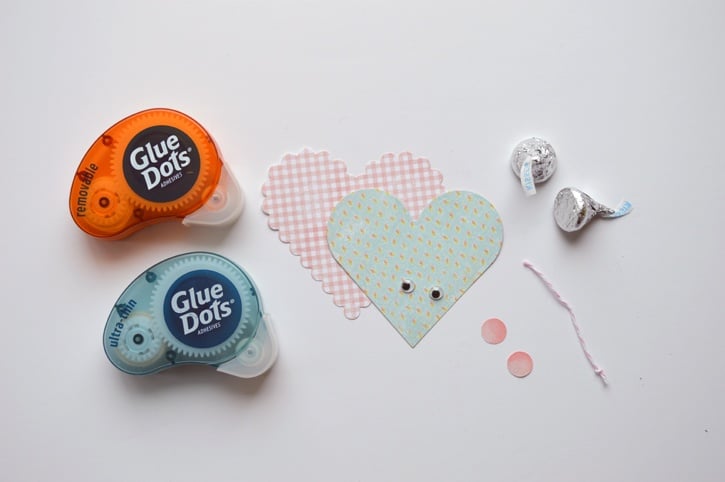
Select the two coordinating papers from your paper collection. Cut out a 3.5 " scallop heart using Spellbinders' Nestabilities: Scalloped Heart die. Cut out a 3.25 " heart using Spellbinders' Nestabilities Heart die.
Punch out two 1/2" circles using a circle punch. Tip: Use daubers and pink ink to sponge a little color to the edges of the circles. This will give your mouse ears a little definition and interest.
Tie a knot at the end of the pink baker's twine. Cut off a length of twine that is about 3" long.
valentines-day-candy-mouse-step1.jpg
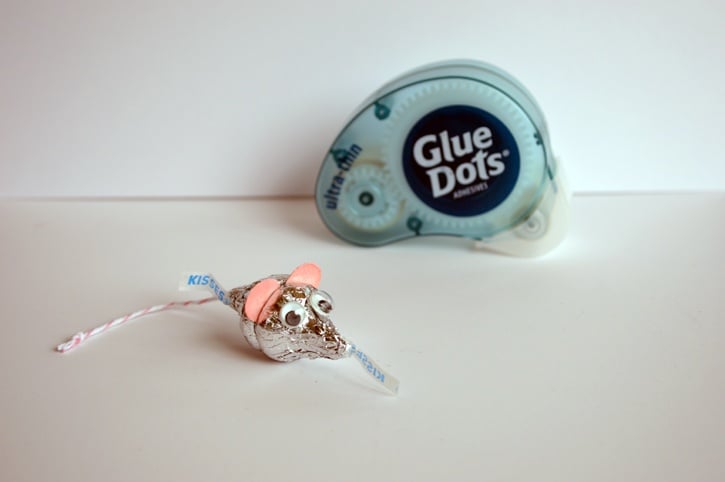
Apply 3 Ultra-Thin Glue Dots to the base of one of the chocolates. Add the ears and then stick the second chocolate, base to base, to form a mouse shape. Use Mini Glue Dots to add the googlie eyes and baker's twine tail.
valentines-day-candy-mouse-assembled.jpg
Stamp a valentine sentiment on half the heart using Memento black ink. Use Ultra-Thin Glue Dots to layer the 2 hearts on top of each other. Tip: This is a good time to write a note on the back of the heart, if desired.
Use Removable Glue Dots to adhere your mouse to the top of your valentine.
valentines-day-candy-mouse-finished.jpg
This is a fun way to create a valentine with a little bit of chocolate on it and a whole lot of cuteness too!
~Dawn

1.28.2019

Tweet Wishes


Eyelet Outlet has a variety of birds and animal brads.
How fun are these two!  They come in a mix called Blue Bird & Robin.  A little spring in the middle of Winter.
Remember, we have new Washi Tape in our store!

Our green paper flowers cut down to make the perfect leaves.
Add a little bling for interest.

I hope that you are dreaming of spring, even through today's winter storm!

Also featured: stamps by Starving Artistamps and adhesive from Glue Dots ®


1.22.2019

Valentine's Day Treat Box


What will you tuck into this valentine box? A sweet treat? A special coupon? A bit of spending money? Make a small treat extra special with this lovely treat box!
Made by: Dawn Mercedes Barrett
Time: 45 minutes
Level: Intermediate
Size: 3 x 3 x 1 inch
Here's what you need:
  • Permanent Glue Dots®
  • DCWV Glitter Neutral Cardstock stack
  • Echo Park: Love Story 6x6 paper pad
  • Other card stock as needed
  • Colored dye ink
  • Embellishments as desired:
    • Paper Flowers from Eyelet Outlet,
    • Swirl bling and bling hearts from Eyelet Outlet
    • Washi tape from Eyelet Outlet
    • Offray microspool ribbon: stitched pink ribbon
    • Pearl brad from Eyelet Outlet
  • ScorPal
  • Fiskars Paper Trimmer
  • Taylored Expressions Stamps: Happy Heart
  • Scissors
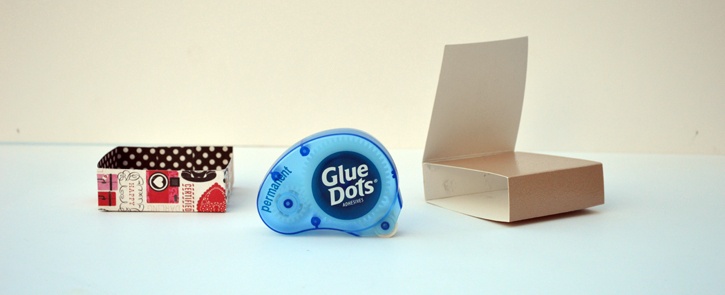
valentine-treat-box-supplies.jpg
Here's what you do:
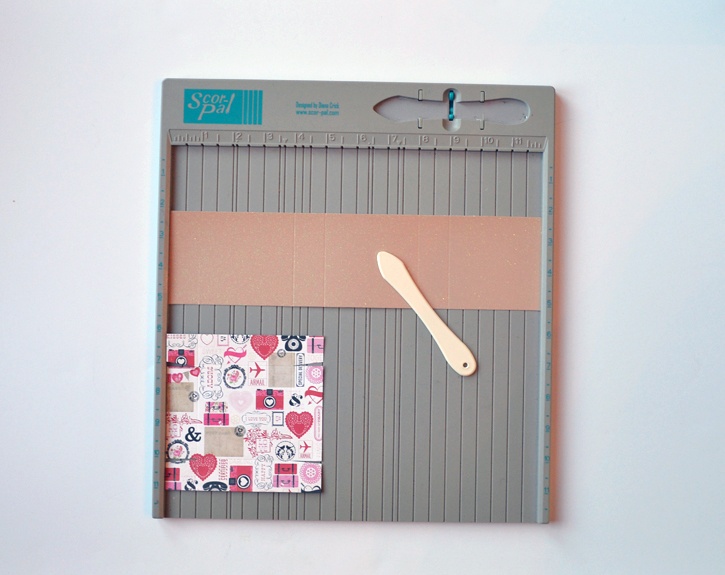
Cut Glitter Neutral card stock to 3 x 12 inches. Use the ScorPal and score at 1”, 4”, 5”, 8”, 9”. Score along each measurement.
valentine-treat-box-step1.jpg
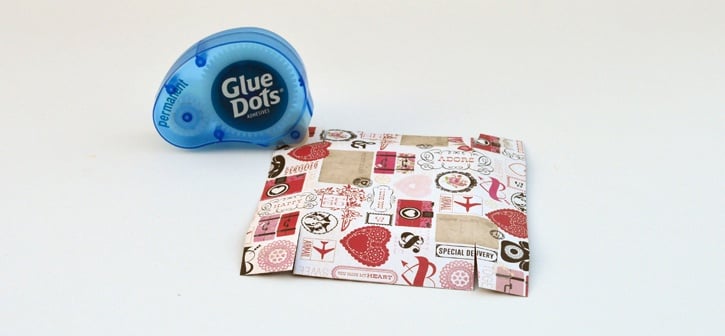
Cut a piece of double sided designer paper to 4 7/8” x 4 7/8”. Score at 1”. Turn the paper a quarter turn and score at 1”. Repeat two more times. On one side of the square, use scissors to cut two notches along the score lines. Repeat the cuts on the opposite side of the square at the other 2 score lines.
valentine-treat-box-step2.jpg
Apply Permanent Glue Dots to the front side of each flap. Fold in to create a tray. Use a decorate brad to secure small piece of ribbon to the side of the tray.
Apply Permanent Glue Dots to the 1” section of the Glitter Neutral. Fold up and secure so that you have created the outside of the box with an extra flap. 
valentine-treat-box-step3.jpg
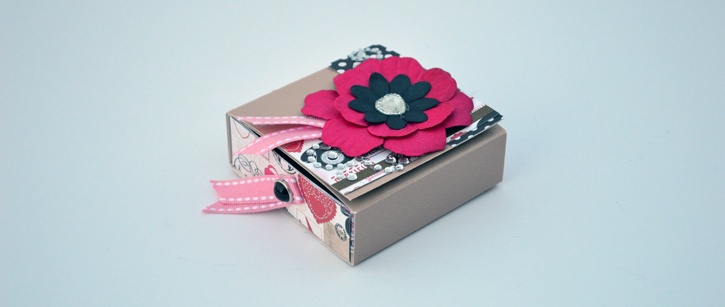
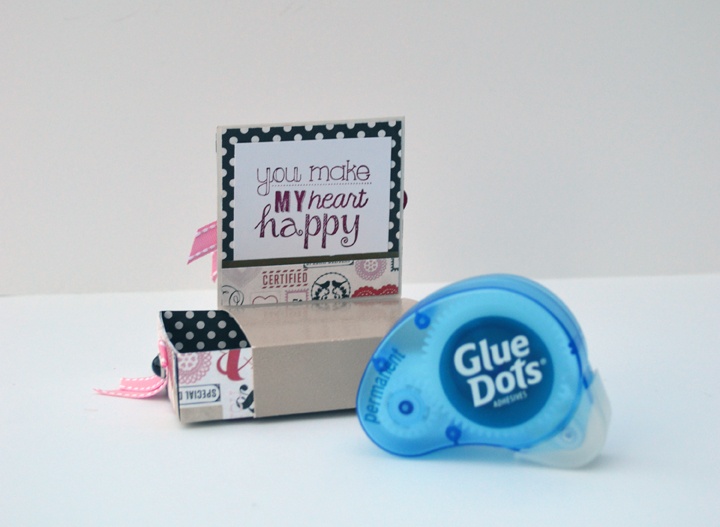
Slide the tray into the glitter cover. Decorate as desired. Stamp a sentiment and adhere it to the inside of the box using Glue Dots ®. Layer on flowers and bling and jewels for a dazzling look.
valentine-treat-box-finished-dawn-mercedes.jpg
Fill this treat box with candy, notes, or coupons!
valentine-treat-box-featured-finished.jpg


1.16.2019

Golden FIshie


My mom has been purging and gifting away...
and I received many of her stamp sets. Here is a sweet one from Stampin  Up.
Toucan of My Love

Embellies from Eyelet Outlet:
decorative brads, glitter washi tape, glitter enamel dots

Held together with Glue Dots ®


I love you so, Valentine...Cocoa Holder


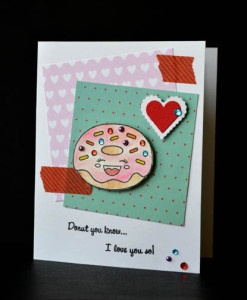
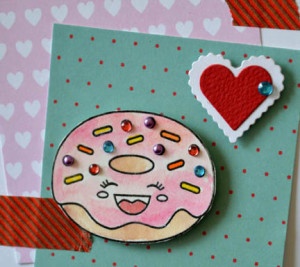
Donut you know? Designer Dawn is on our blog today with an adorable valentine stuffed with hot cocoa for a friend. Get the Glue Dots!
Time: 20 minutes
Level: Intermediate
Size: 4" x 5"
Here is a simple way to create a gift to show your appreciation to those who help you throughout the winter months. A quick treat to give to a coworker, bus driver, the pharmacist... or the kid that shovels your walk or walks your dog!
Here's what you need:Glue Dots Donut Valentine
Here's what you do:
  1. Cut a piece of card stock to 5" x 9" with Fiskar's Rotary Cutter.
  2. Using your Bigshot, score along the long side at 4", 4.5", and 5". Then, fold an accordion fold.
  3. Give your paper punches added dimension with Pop Up Glue Dots.
  4. Use Mini or Micro Glue Dots to embellish your card as desired.
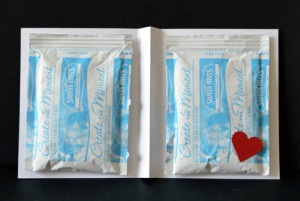
  5. Use Removable Glue Dots to temporarily secure hot cocoa packets on the inside of the card.
  6. If you would like to add a note, write it on a separate piece of paper and secure it to the back of this folder using Glue Dots!
Hot Cocoa Valentine
Who will you make this cute card for?
~Dawn

1.15.2019

Valentine's Day Coffee Filter Wreath


Brighten up your February decor with this simple, yet stunning heart wreath. No one will suspect it is made from coffee filters and a card board box!
Made by: Dawn Mercedes Barrett
Time: 45 minutes plus drying times
Level: Intermediate
Size: approx. 18" x 16", not including the hanging ribbon

Tips: Find an old glass bowl and metal spoon for this project that you will no longer use for food preparation or service. Use them for this project and then keep them in your craft/art supplies for future projects.
Here's what you need:
Here's what you do:
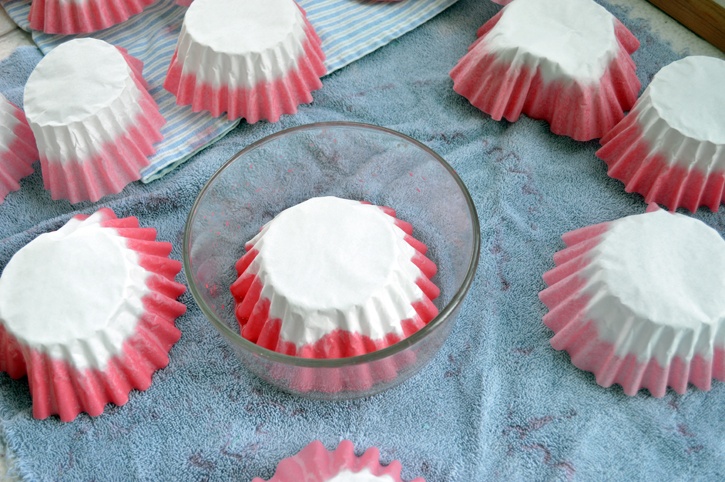
Add about 1" of cool water to the bowl. Squirt in Red Hot acrylic paint, as desired. Mix with the metal spoon till dissolved to create a dye bath. Separate coffee filters into small batches. Place into the dye bath long enough for the filters to soak up the dye. Place on old towels and let dry for several hours, or over night.
valentines-day-coffee-filter-wreath-step1.jpg

As your coffee filters are drying, draw a large heart (approx 14" x 14") on a piece of corrugated cardboard with your marker. Draw a smaller one inside so that the space between the 2 shapes is 3 1/2". Carefully cut it out with your utility knife. Use a knife to create a small hole near the center point of your heart wreath in order to hang it up for display later.
Once your filters are dry, gently separate them so there are 2-3 in a group. Use a paint brush to dry brush on Red Hot acrylic paint to the very edge of the filter. Allow to dry.
Apply XL Glue Dots around the front of the cardboard wreath shape. The Glue Dots should be close, but not touching each other. Tip: Press firmly on the adhesive with a rubbing motion before removing the liner. This will help it remove more cleanly.
Start at the top of the wreath. Loosely fold each section of filter into fourths and adhere it to the cardboard wreath on top of the XL Glue Dots. Fluff and scrunch as you go. Once your wreath fills up, you may need to use Craft Glue Dots to fill in gaps. Be sure that the filters spill over the edges of the cardboard wreath, but stay in a heart shape.
Thread the red, ruffled satin ribbon through the hole in the cardboard to create a hanger.


Don't over think making the cardboard wreath shape. The coffee filters will fluff up and out, covering any lopsided areas! Due to its delicacy, you'll want to keep the wreath indoors.
~Dawn