

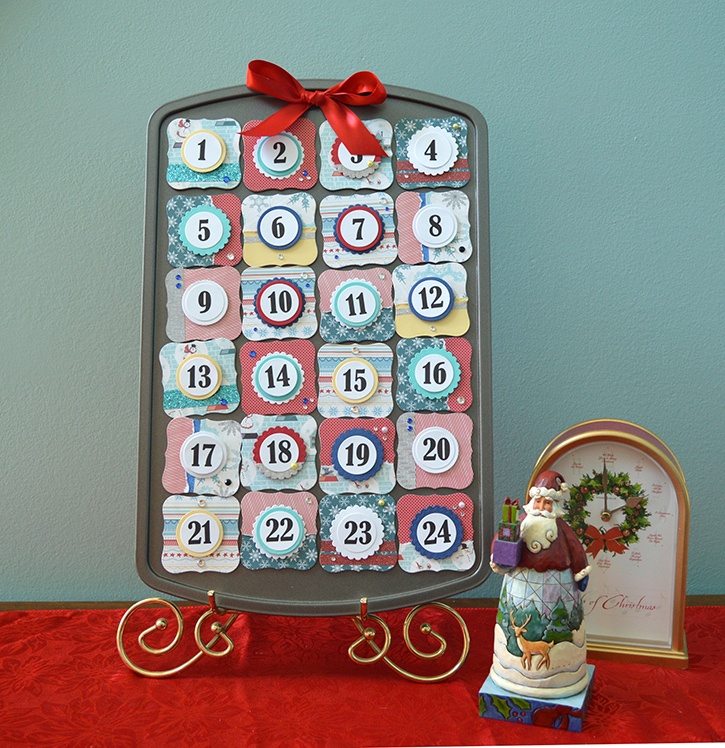
Make this sweet treat of an advent calendar to count down 24 days until the big man in the red suit arrives at your house. Each mini muffin space can hold a chocolate treat or peppermint. Why not write up a list 24 holiday activities that you want to complete with your family this year. Some ideas could be: go caroling, bake cookies, read a Christmas story, etc. Type up each idea and cut them out into strips! Christmas comes just once a year and you can make the month of December full of family activities with the help of Glue Dots®!
Made by: Dawn Mercedes Barrett
Time: 2 hours
Level: Intermediate
Size: 11 x 17 x 1 inches
Time: 2 hours
Level: Intermediate
Size: 11 x 17 x 1 inches
Here's what you need:
- Glue Dots® Craft Dots™
- Glue Dots® Permanent GlueTape™
- Thin cardboard (Cereal boxes work great!)
- Carta Bella 6"x6" card stock collection: Snow Fun pad
- Main Stays 24 cup mini muffin pan
- Rhinestones
- Coordinating cardstock
- 1" red satin ribbon (about 18 inches)
- ½ inch magnetic strip
- Decorative trim
- Other embellishments as desired
- Print out of advent numbers on cardstock. (Black or Brown to coordinate with your paper choice.)
- eClips by Sizzix or other electronic die cutting machine
- round and scallop punches
- scissors

Here's what you do:
Use your electronic die cutting machine to cut 24 shapes, approximately 2.5 inches each, out of thin weight cardboard. Using decorative paper, cut out 24 paper shapes to cover the cardboard.
Using your die cutting machine or hand punches or dies, punch out the advent numbers. Choose coordinating colors of paper and cardstock and cut out additional layers. Lay them out and arrange them as you would like for your presentation.
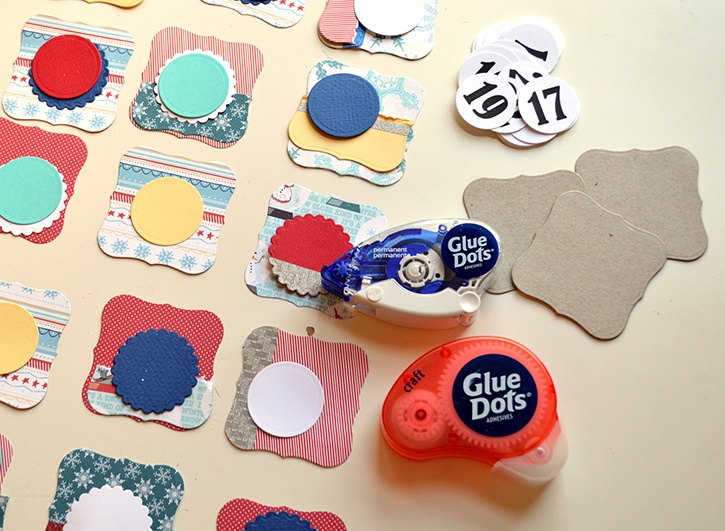
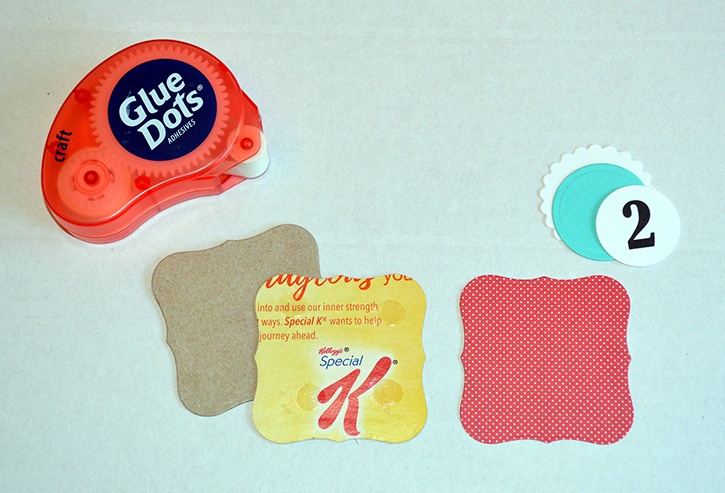
Use Craft Dots in each corner of the card board shape to secure it to a piece of decorative paper. Be careful to match edges and sides. Add layers by using Permanent GlueTape.
Tip: Add Glue Dots to the printed side of your cardboard. This will leave the clean, blank side showing on the back for a neat look.
Add embellishments such as rhinestones. Remember to use additional Glue Dots if needed to secure bling.
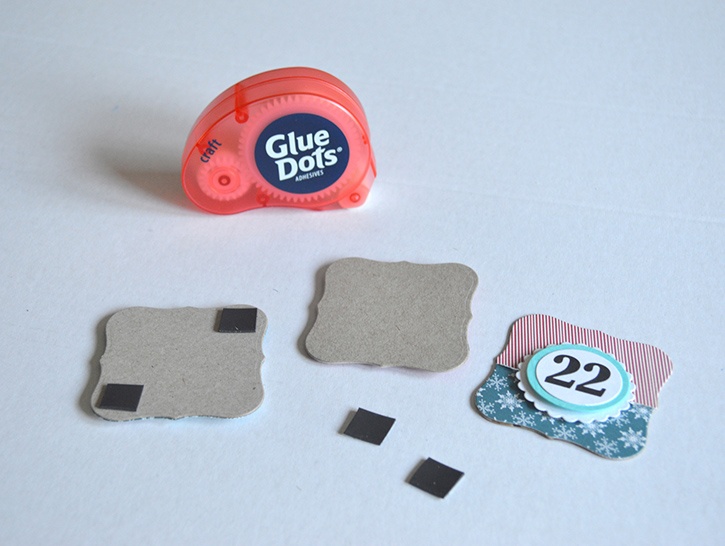
Cut the magnetic tape into ½ x ½ inch squares and apply two to the back side, on opposite corners. Fill the muffin tins with chocolate or mints and cover with your decorated square.
Another idea it to add one holiday themed activity to do each day to keep looking forward to Christmas!
Dress up your kitchen with a bit of holiday flair when you use Glue Dots and a mini muffin pan to plan out your holiday activities leading up to the arrival of Old St. Nick!
~Dawn
No comments:
Post a Comment